
Rescue medium
Something your computer starts from when it no longer starts on its own - and it runs MoB straight away.
How to build it
- Click Rescue medium at the bottom of the main window. Writing to the USB flash drive needs administrator rights. When the window does not have them, it asks This needs administrator rights and after Open as administrator MoB opens again, with the medium window (Windows will ask).
- Leave the Onto a USB flash drive tile selected and click yours in the list; if exactly one suitable drive is plugged in, it is already selected (unless it has partitions MoB cannot see into - that one you pick yourself). A disk MoB must not touch is greyed out, with the reason written next to it. If there is no USB flash drive at all, plug one in and click Reload.
- For a backup protected with a passphrase, Carry the key to this backup storage, locked with a PIN is ticked. Fill in the backup passphrase (a stored one does not have to be typed) and a PIN of at least 6 characters, twice. The medium will then ask for that PIN instead of the passphrase. A backup without a passphrase needs no key - the medium opens it on its own.
- Type the disk's label (
disk 3) and click Build it. It takes a few minutes: MoB writes the medium, then reads it back and checks it. If building fails, the window shows a short message instead of the form - what happened and what to do next - and Back takes you back to the form, with the chosen disk and the filled-in fields as they were.
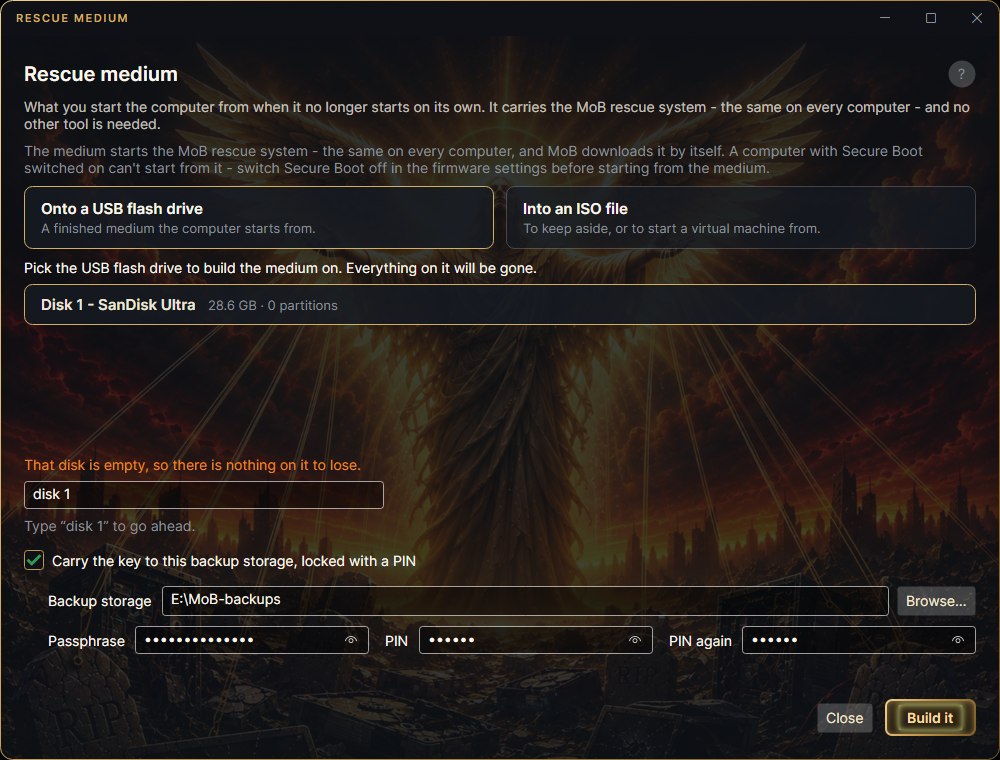
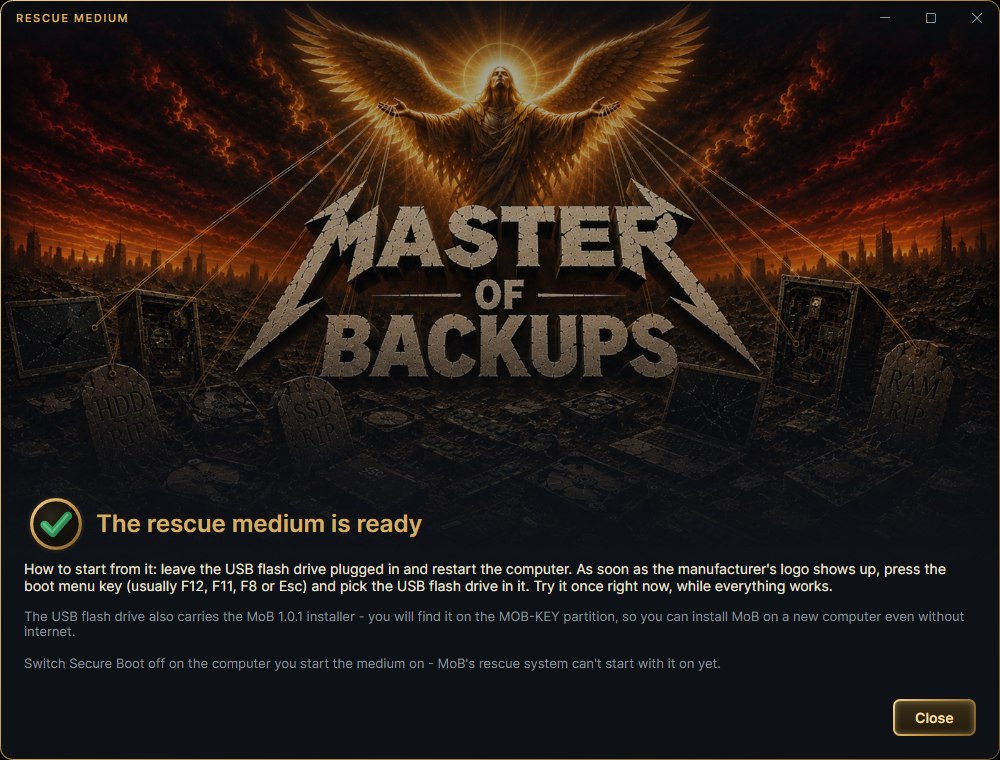
MoB-Setup-<version>.exe) onto the MOB-KEY data partition, so you can install MoB on a new computer even without internet. Only a MoB installed with the installer adds it; if it is missing, the window says so after building. An ISO file does not carry it. The installer and the flash drive layout come from the MoB that makes the medium - when a newer version is out, the window says so and offers Update MoB. The MOB-KEY partition takes up the rest of the flash drive, so you can keep using it for your own files - only a single file on it can be at most 4 GB.mob rescue-key revoke <storage> <id> (list them with mob rescue-key list). Nothing changes about the passphrase or the paper key.Or as an ISO file
The second tile, Into an ISO file, is for keeping the medium aside or starting a virtual machine from it. An ISO file does not carry the key to the backup - the key only gets onto a medium written to a USB flash drive. You then write that file to a USB flash drive with Rufus or Ventoy - in Rufus pick partition scheme GPT and target system UEFI (non-CSM). Going straight onto a USB flash drive from MoB needs no other tool.
Starting from it
- Leave the USB flash drive plugged in and restart the computer. As soon as the manufacturer's logo shows up, press the boot menu key - usually F12, F11, F8 or Esc.
- Pick the USB flash drive in the menu; on a UEFI computer, the entry starting with UEFI: and its name.
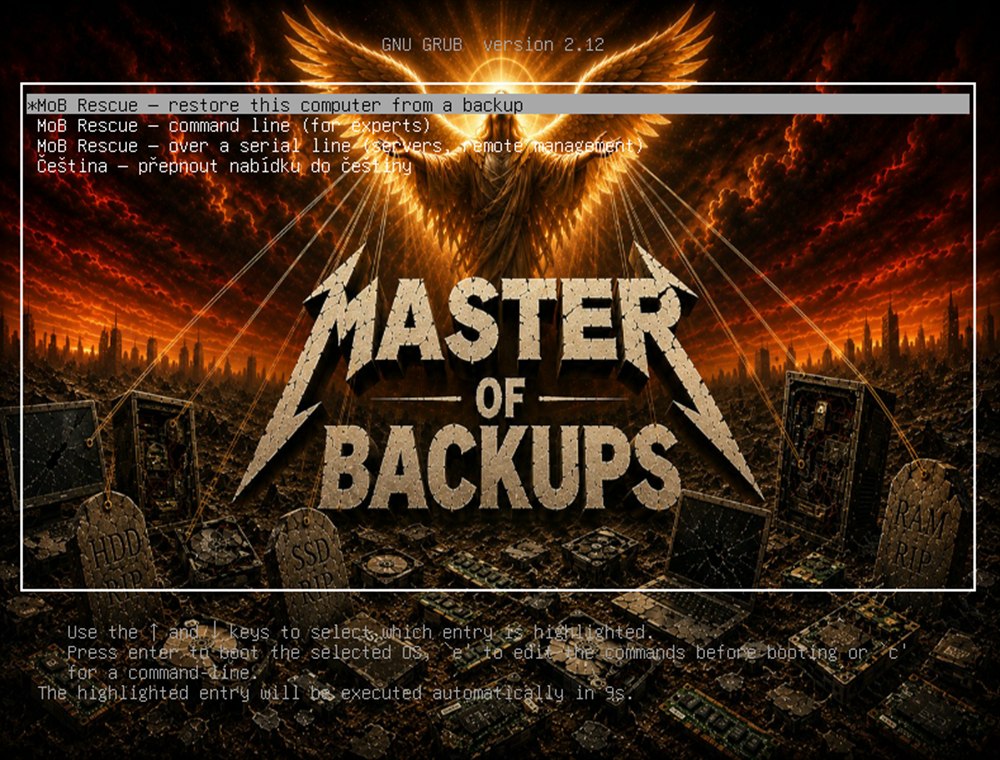
What you see after starting
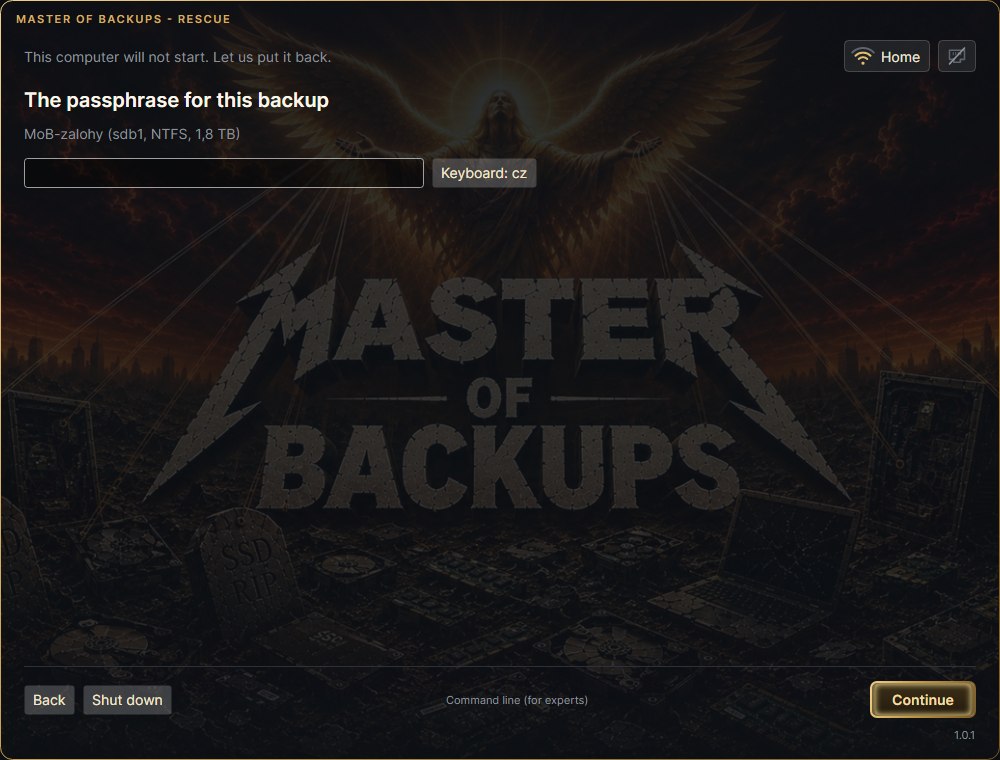
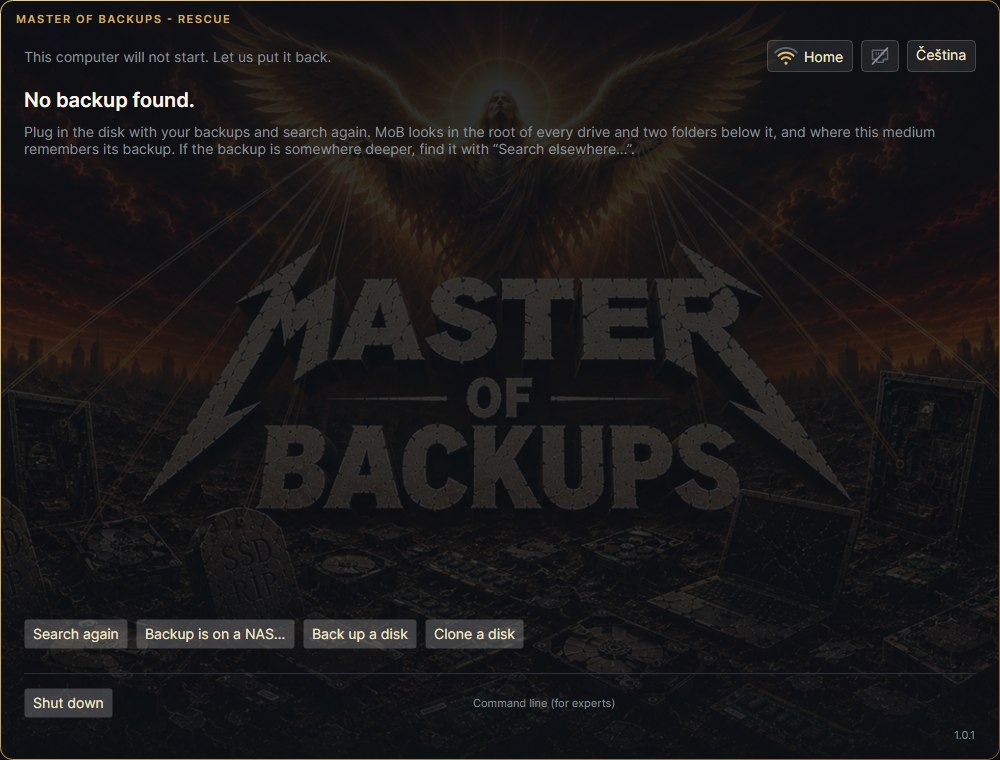
After a moment the MoB window comes up - the iron graveyard with the angel, the same as in Windows. It is as large as the MoB main window and sits in the middle of the screen, with a gold edge; on a smaller screen it gets smaller, and it fills the whole screen only where it would not fit otherwise. The version of the rescue system is shown in small print at the bottom right. Nothing to type on a command line, nothing to mount:
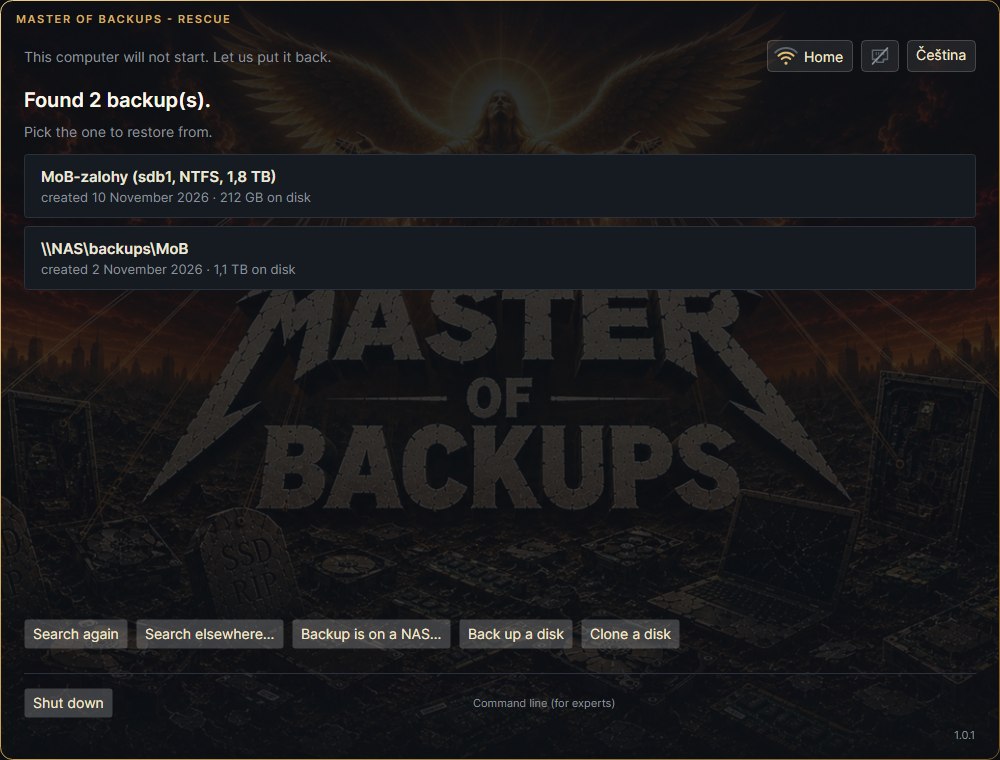
- MoB finds the backups by itself on the disks and USB flash drives plugged into the computer. You can plug the backup disk in later too - then click Search again. It looks in the root of every disk and two folders below it, and also where the backup you made the medium for lives - the medium remembers that. If the backup is somewhere else, click Search elsewhere… and walk to it folder by folder; the folder with the backup is marked. When the backup is on a NAS, click Backup is on a NAS… and type the network folder address as in Windows (
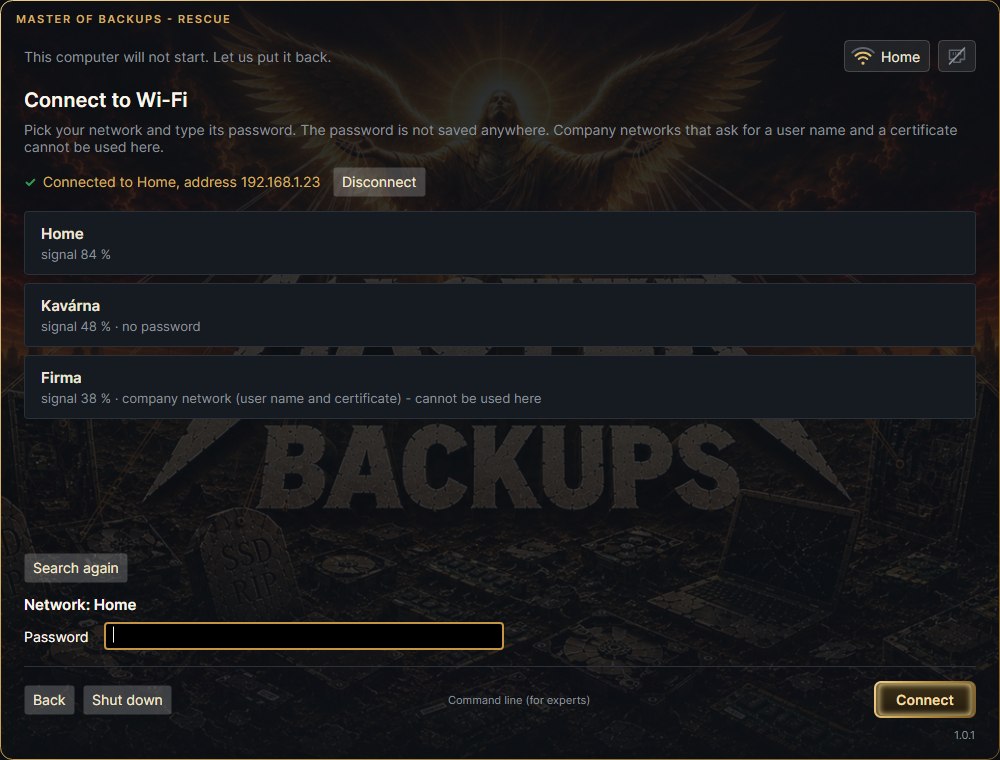
\\NAS\backups), and the NAS name and password. A medium made for a backup on a NAS fills in the address itself; the NAS password is not stored anywhere. The computer is on the network by cable, or you connect to Wi-Fi with the Wi-Fi button at the top right (pick the network, type its password; company networks with a user name and certificate are not supported). While the computer is not on any network, the NAS step says so: This computer is not on a network - plug in a cable, or connect to Wi-Fi at the top right. You can type the NAS by name as in Windows: the rescue asks the network for it the same ways Windows does, so it also finds a NAS your router does not know. If it still cannot find it, type its address instead (\\192.168.1.10\backups). A connected Wi-Fi can be disconnected again: in the Wi-Fi step with Disconnect next to the network name. If no cable is plugged in, the NAS is let go along with it and its backups disappear from the list. - Click the backup you want to restore from.
- If the medium carries the key to this backup, type the PIN; otherwise the backup passphrase; a backup without a passphrase asks for nothing. The eye at the end of the field shows what you are typing; if the characters come out wrong, the Keyboard button next to the field switches the layout.
- Pick the restore point and the disk the computer should come back to. The medium you started from and the disk holding the backup cannot be picked. A backup of the Windows volume (
C:with everything it needs to start) goes back onto a disk as the whole system - or justC:onto the partition it came from, leaving the other partitions on the disk alone. If the backup holds some other volume (not the whole disk), you pick the partition it goes back to - the rest of the disk stays as it is. On an empty disk (say, after a replacement) the volume goes into a new partition: the data comes back, but the computer will not start from such a disk. - Type the disk label (
disk 0, for a partitiondisk 0 partition 2) and click Restore. - When you see a big green tick in a gold circle and a gold Done, unplug the medium and click Restart. Below it is an invitation for a coffee with a QR payment - scan it with your phone and pick the amount in your bank.
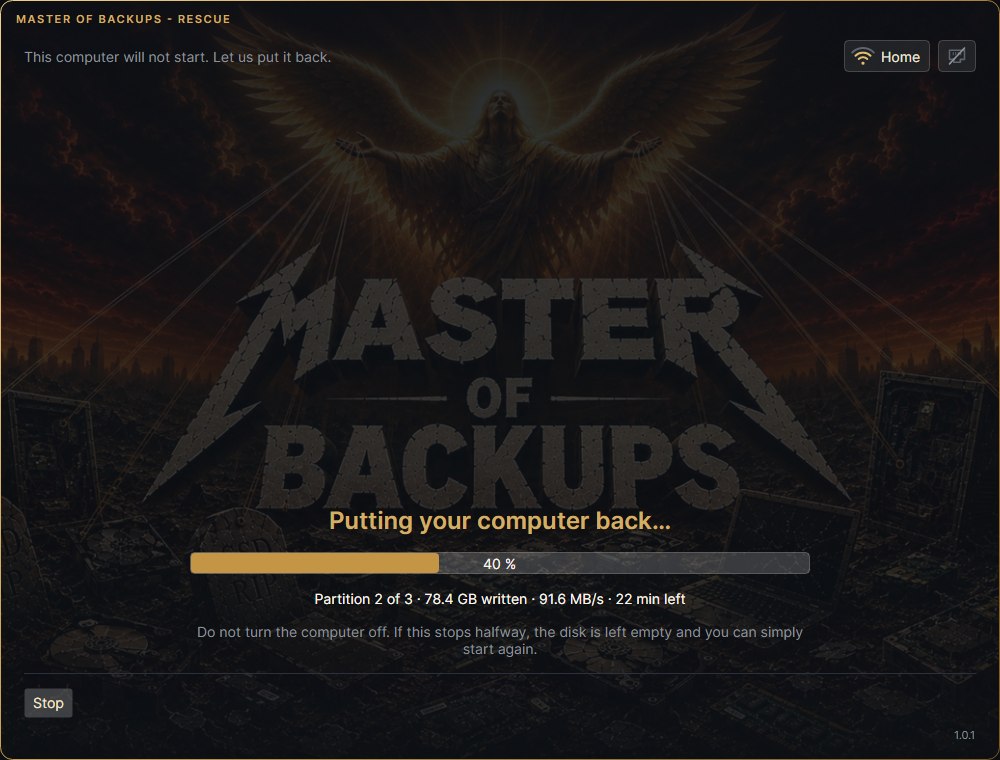
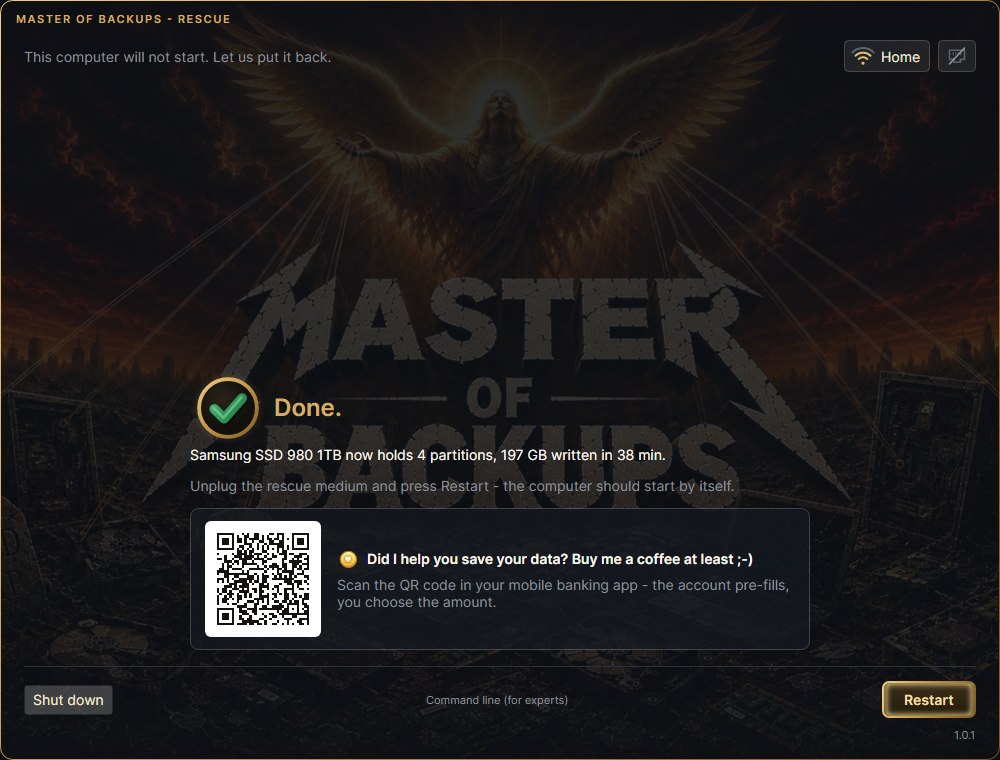
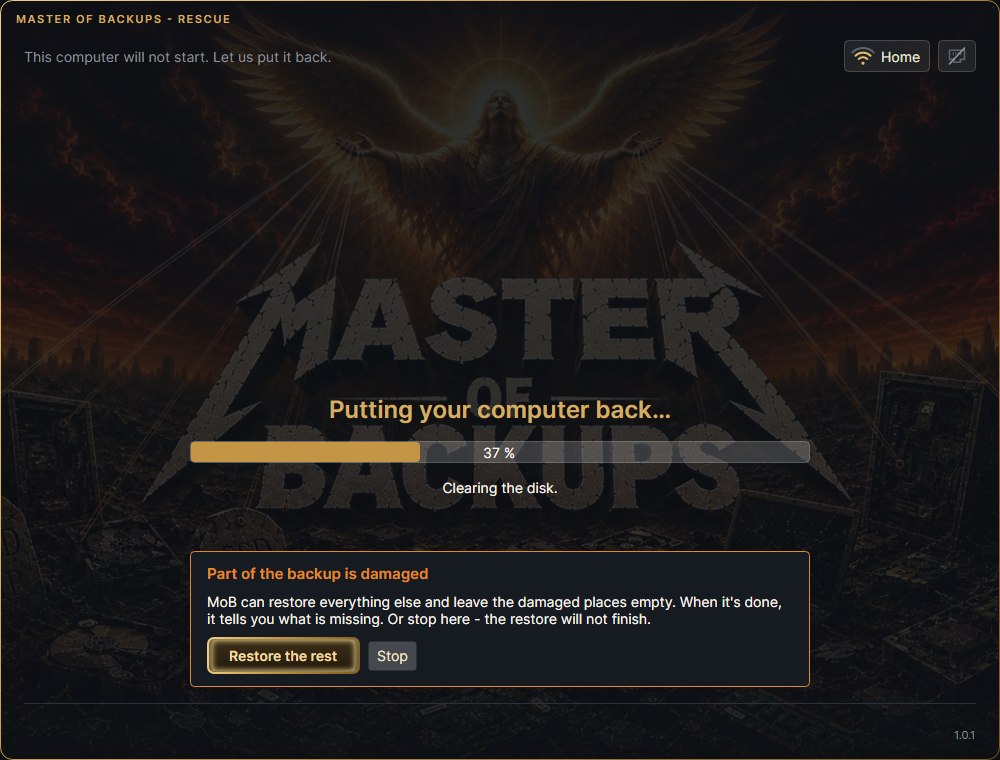
When a restore does not finish, the window says It did not finish., why, and what happened to the disk - including when it was not touched at all. Back takes you to choosing the disk, from where you run the restore again; Restart is not offered after a failed restore, the computer would not start from a half-done disk. Back is the way on after a failed backup or clone too, and after an error before any disk was touched (say, while looking for disks). When the backup is damaged, the restore stops and asks: Restore the rest, or Stop. With Restore the rest it ends with an orange exclamation mark and Restored, but something is missing: how much is missing, where, and which files it hit - see restoring.
The rescue system can back up too
On the first screen, next to restoring, there is a Back up a disk button. It backs up with the system switched off, so the copy is taken at rest and it does not matter what is on the disk - Windows, Linux, a dual boot. Useful when you want a certain copy before you start doing something, or when the computer no longer starts.
- Pick the disk to back up. Nothing on it changes, it is only read.
- Pick where the backup goes - another disk or a USB flash drive of at least 2 GB. MoB will not offer the disk
being backed up, the medium you started from, or an EFI partition. The backup goes into a
MoB-zalohyfolder; whatever is already on that disk stays. - On NTFS partitions MoB reads only the used space; other partitions it reads whole. Bad spots are skipped, and at the end it says what was lost.
A new backup storage is created here without a passphrase - in a rescue there is nowhere safe to type one, and a forgotten passphrase would lose the backup for good. You can protect it later in the MoB window in Windows (Protect it with a passphrase). Backing up into storage that already has a passphrase is not possible from the rescue system yet; MoB says so and lets you pick another place.
Clone a disk onto a disk
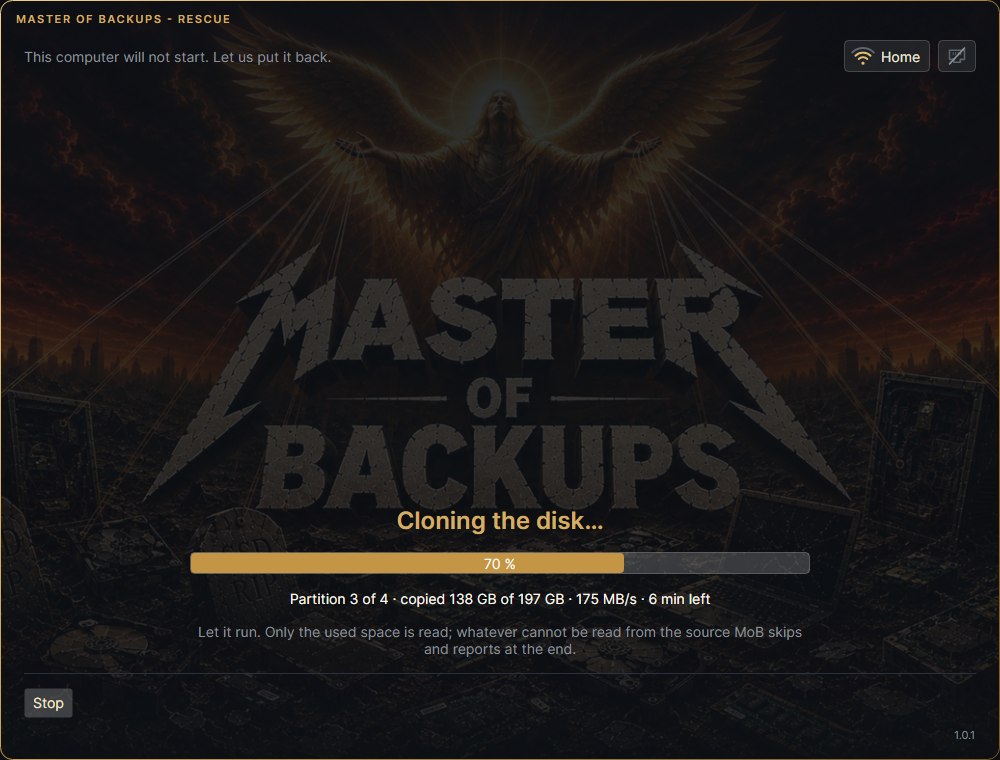
Next to it is Clone a disk: an exact copy of one disk onto another, with no backup storage in between. The computer starts straight from the clone - including the boot code for an old BIOS, Linux and dual boot. Handy for swapping a disk for a bigger or a new one while the old one is dying.
- Pick the disk to clone. Nothing on it changes, it is only read.
- Pick the disk that gets the copy - at least as large as where the last partition of the source ends. Everything on it will be gone; MoB says so and asks you to type the disk number.
- Whatever cannot be read from the source (bad sectors), MoB skips, leaves zeros on the clone and reports how much at the end.
- After writing, MoB reads the clone back from the disk and compares it: the partition table, the boot code, the small partitions (the boot ones included) in full and samples of the large ones. If something does not match or cannot be read, it ends in red - the disk or its connection does not store data reliably.
- ⚠️ For the computer to start from the clone, put it inside in place of the original disk and take the original out or unplug its cable - switching it off in the BIOS settings is not enough. The clone is an exact copy, identifiers included, and the computer mixes up two identical disks. Windows usually will not start from a disk connected over USB.
mob-okno takes you back to the window. The window keeps a log of what happened in the rescue on the medium, in MOB-KEY\mob-rescue.log - open it in Windows once you unplug the USB flash drive. After Shut down or Restart the window closes and the screen shows what happens while shutting down; if it stops for more than a minute, take a photo of the screen and hold the power button.